
So last week we took a dive into upgrading JIRA Server. So naturally this week it stands to reason that we will go over it’s big brother, JIRA Data Center. To be fair, doing an upgrade in Data Center isn’t much different than in Server. There are minor changes though that take full advantage of Data Center’s architecture, and those are what we’ll be focusing on today. We can sit here jabbering about it for a while, or we could get into it.
Zero Downtime Upgrades
So one of JIRA Data Center’s super-powers is the ability to stay online and completely functional while you are doing an upgrade! Called “Zero Downtime Upgrades” by Atlassian, this is the technique we will review today.

This seemingly superhuman feat takes advantage of the fact that JIRA Data Center runs on multiple nodes. Zero Downtime Upgrades allows you to put JIRA in a special “upgrade mode”, which allows nodes to be on different versions, then only bring down one JIRA node at a time while you perform the update. After the upgrade, you take it out of “upgrade mode” and let it start humming along on it’s new version!
Here is the doc we will be following that explains the what and how of doing a Zero Downtime Upgrade:
Before you begin
So, just because Data Center has fancy features, doesn’t absolve you from your own responsibilities. You will still need to go out and research what version makes sense for your instance, make sure it won’t impact any Apps, make sure your support systems are still supported under the new version, etc.
And I shouldn’t have to say this (I mean, I’ve pretty much said it the past two weeks now), but it is on you to thoroughly test each upgrade before putting it into production. JIRA is not a system that protects you from yourself. That is on you to do.
Also, “Zero Downtime” does not mean “Zero Risk”. It is still on you to make sure you have a good backup of the shared home, the database, and each node prior to upgrading the system. Remember our rule of thumb with upgrades:
“ALWAYS give yourself a path back to before you changed anything.”
Entering Upgrade Mode
So, you’ve selected your version, have everything ready to go, but where do you start?
To Enter the mythical “Upgrade Mode”, Head on over to Applications -> JIRA upgrades in the admin section (or hit “g” twice, then type JIRA Upgrades into the search bar that pops up).

Click the “Put JIRA into upgrade mode” button, and you are off!
Upgrading each node
After putting JIRA into Upgrade mode, it’s time to do each node. Depending on the number of nodes you have, this can take a long time. Just remember, for this to be truly zero downtime, at least one JIRA Node must be up at a time.

I should also point out that every JIRA node that is still up will be getting the load of the nodes that are down for the upgrade. To me, if you have the capacity, it makes sense to build out extra nodes before a JIRA upgrade to make sure that no single node becomes overloaded while some part of them are down.
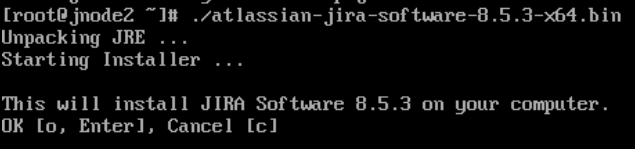
I won’t bore you with how to do the upgrade on each node – because I already covered it last week. At this point you treat each node like an individual JIRA server, download the installer onto each one, upgrade that system, then make any filesystem changes you need to.
If you have any customization in the JIRA install directory, you will need to copy these over as well. Remember, you can backup and restore the modified file – but during an upgrade that does carry a chance of breaking that node. It’s always a better idea to make a diff between the old and new files, identify the differences from your edits, and apply those edits to the new version of the document.
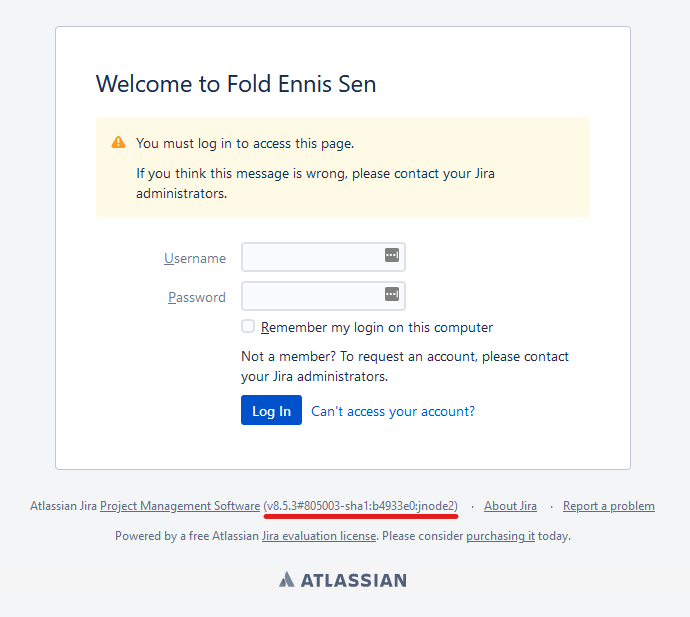
As each node comes back up, test it by bypassing the proxy and going to it’s IP directly. If you have customizations, you will get the warning about that, but then it should pop up with it’s new version.
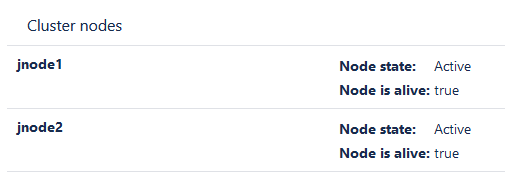
Also check back at the proxy (System -> System info) to make sure each node is connected back to the cluster after upgrading.
Complete this for all remaining nodes, then continue on.
After you’ve upgraded all nodes
Once you’ve completed the install for all JIRA nodes, go back to Applications -> JIRA upgrades in the admin section. Here you will see a new button lit up, “Run upgrade tasks”. Go ahead and click it.
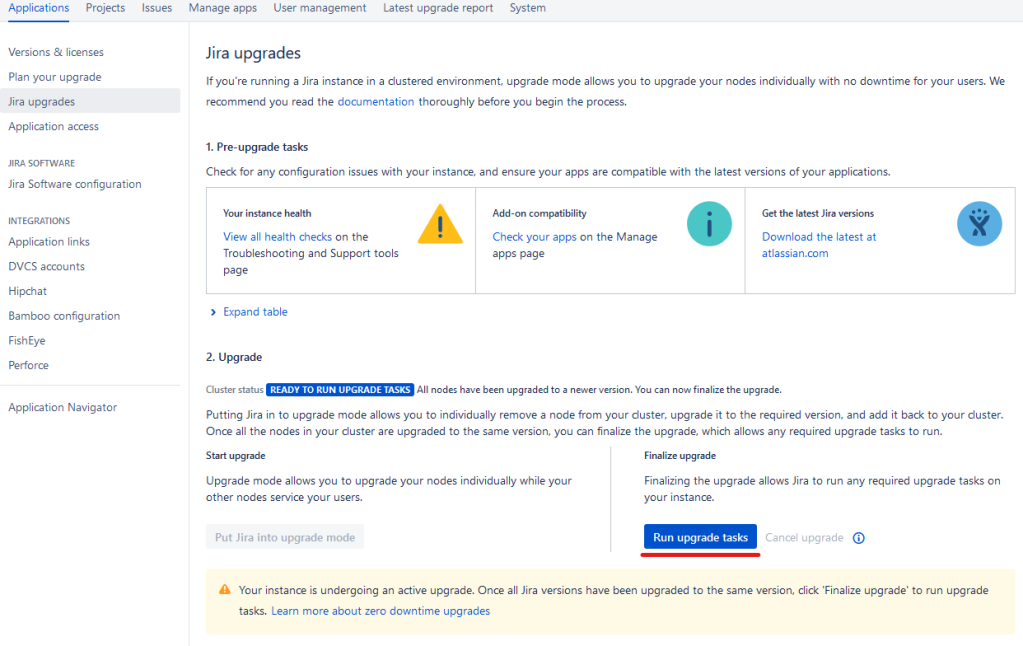
This will do all the edits necessary to the Database and Shared Home to get you running fully on your new version. As this is an important step, DO NOT SKIP IT!
Once complete, this will take you out of “Upgrade Mode” and return JIRA to normal operation.
Take this time to do your normal tour of the health checks, Apps, and basic functionality to make sure it is all working as expected on every node. Once you are satisfied, you’re done! All without any end-user interruption!
And if something went very wrong?
Well, depending on when it went wrong, you’ll change what you do.
If you have entered upgrade mode, but have not modified any nodes yet, you have the option to cancel out of upgrade mode. No harm, no foul.
If you’ve already started working on a node – but have not brought any nodes online under the new version, simply restore that node to the previous version, then cancel out and go back to test.
If – however – you do have nodes online under the new version, and want to back out fully to the old version, you are in for a bad day.

This is the point of no return for the upgrade, which means in order to return, you are going to have to bring the whole cluster down. Afterwards, you will need to restore the database, restore the shared home, and then restore each and every node that is running a new version. Then you can bring your cluster back online. Then write an email to all stakeholders explaining why you just brought JIRA down when they weren’t expecting it.
And this is why I keep telling you to test until you are confident. It won’t catch everything, but it will catch far more than not testing.
So, Listen – we have, like, a lot of nodes. Like, A LOT.
So, you are wondering if you can automate this on nodes somehow. Well….
You can automate a JIRA upgrade using tools like Ansible, Salt, etc. I actually have an Ansible job running of my Jenkins (sorry, no Bamboo here) which keeps my personal Confluence up to date without me having to upgrade it every time. However, I do not recommend you do this for production.
Atlassian is changing things all the time, and they don’t always get into the nitty gritty of what they are changing. That Confluence Upgrade job in Ansible I mentioned? It was actually broken for four months because Atlassian changed the URL you download from, and Ansible couldn’t make sense of the redirect, and I didn’t have time to debug it.
Humans are much better to adapting to these small changes. That’s why I prefer to always keep a human somewhere in the loop for a production upgrade on each node.
But, if that doesn’t dissuade you, I guess I can’t stop you. Just know I won’t be the one to tell you how to do it, just that it can be done.
And that’s Upgrading JIRA Data Center!
I hope you got something useful out of this guide. I think I’m done with upgrades for a while though – between work and the blog, I’ve upgraded 5 nodes across 4 instances in the past two weeks. So yeah – we’ll be covering something new next week.
Don’t forget to hop onto our discord community! There you can chat with fellow Atlassian Admins, get help, and see what’s new! https://discord.gg/mXuRsVu
And until next time, this is Rodney, asking “Have you updated your JIRA issues today?”

2 Comments